Best Ever Rainbow Card Tutorial

The tutorial yesterday used a stamp that fit over the entire Spectrum Pad. Today, we are still using the Spectrum Pad, but only part of it because this is a smaller stamp. You can do this card layout with any stamp set that has both sentiments and images in it. Stamp the bottom section of your card with a chosen image. Then stamp a sentiment towards the top-right corner. Tie a ribbon if you like across the top of the stamped design you created and you're done! It's #simplestamping with a twist!
Beautifully Detailed Note Card Class Kit
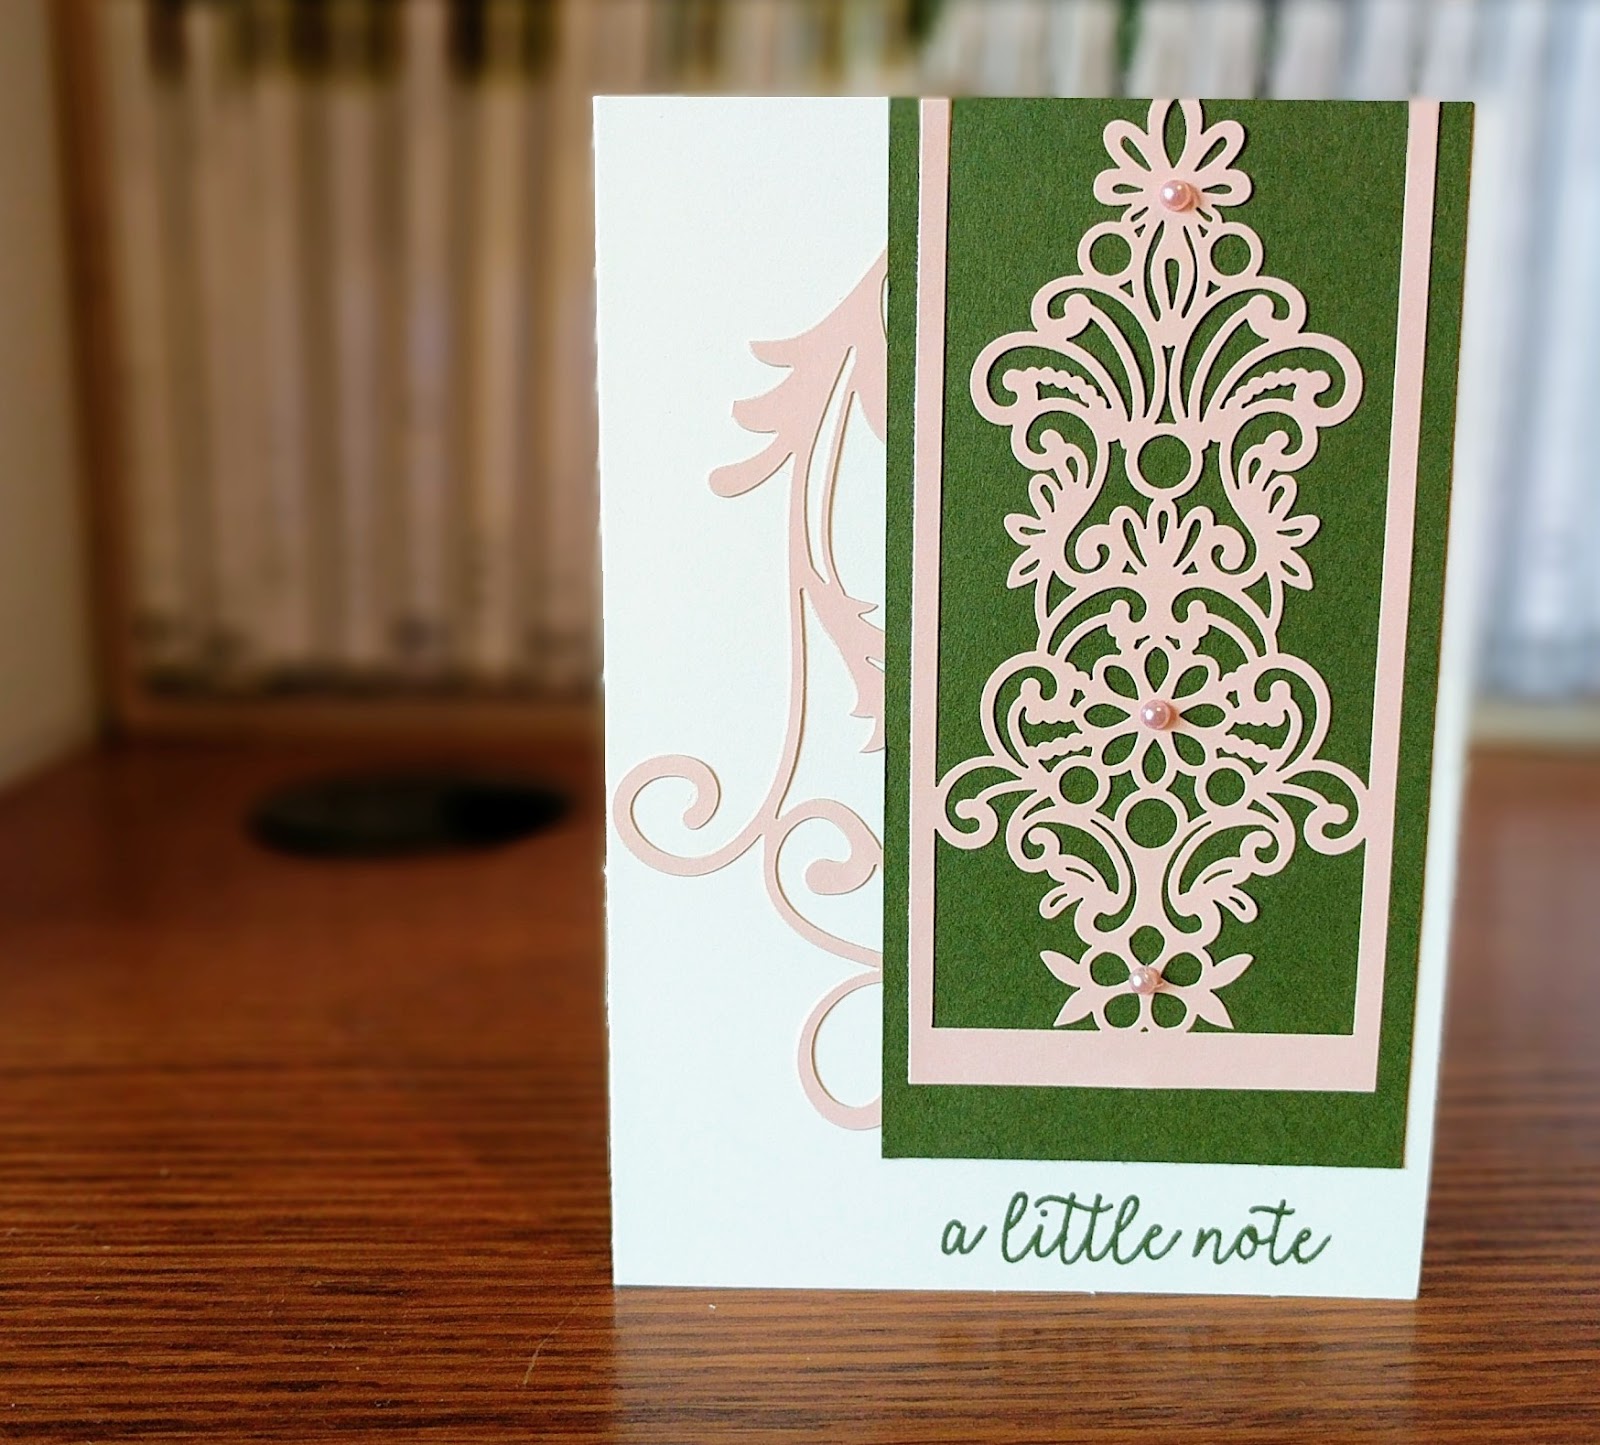

The Beautifully Detailed Laser-Cut Specialty Paper is perfect for making elegant cards that are quick and easy. They look like they took hours to put together, but you’ll have 8 note cards made, ready to use in a snap. They are also perfect for many occasions. This class is paired with the Butterfly Gala Stamp Set for some extra beauty with the butterflies and also for the great sentiments. Best of all, these cards are really fun to put together, especially with all your supplies cut and ready to use!
In-Person, March 31st 2:00-4:00pm at Clarendon Hall: $35
Shipped to your door: $35 + $8.00 Shipping (kits mailed out on or before 3/31/19)
Tutorial Only Option: $10
Included in your class kit:
-Supplies for 8 notecards
-Full pack of Very Vanilla Notecards and Envelopes
-2 sheets of the Beautifully Detailed Laser-Cut Specialty Paper, one in each design
-Full pack of the Share What You Love Artisan Pearls
-Full roll of Very Vanilla Baker’s Twine
-Fine Tip Glue Pen
-1 sheet of Dimensionals
-1 Sponge Dauber
-PDF instructions emailed to you
-exclusive YouTube video tutorial
Registration Due by: March 16th
Email me to register!
2017-2019 In-Colors will soon be retiring!

Powder Pink is a 2017-2019 In Color, which means it is only available for a little longer before we say goodbye. There are 5 In Colors that will be retiring to make way for 5 new colors. I'm definitely sad to see a couple of these colors go!
These colors will soon be on a "while supplies last" basis, but for the month of March, they are fully available. You can get all 5 ink pads in a set. I want to be sure YOU get your chance to get them before they are gone! Here is a link to some of the In Color products that will be retiring soon:
Product of the Week: Lasting Lily Stamp Set


The Lasting Lily Stamp Set is perfect for creating #simplestamping cards. So many sentiments, including sympathy sentiments, and large floral images you that let you build a bouquet to fit your fancy. And now, Stampin' Up! has coordinating framelits available to go with this lovely stamp set. Best of all, it is a Sale-a-Bration item, which means you can get it FREE with a $100 order!
Sympathy cards are important for family, friends and loved ones. Last Lily Stamp Set gives several sentiments that fit the needs for sympathy cards, and gives you a chance to make something personal for those you care about too. I prefer to have a few made up ready to go, so I don't have to think about making one when the need arises.
You can shop with me at juliafair.stampinup.net
Best Ever Rainbow Card Tutorial
Measurements:Base: Whisper White Thick Cardstock,
8 1/2" x 5 1/2", score and fold at 4 1/4"
Embellishment: Silver 3/8" Metallic Edge Ribbon
Prepare Stampin' Pad with your choice of colors. Used on my Stampin' Pad and listed in order are Mango Melody, Calypso Coral, Flirty Flamingo, Melon Mambo, and Gorgeous Grape (Gorgeous Grape and Mango Melody weren't used on this card)
Instructions:
1. Stamp "You Are the Best Evert" sentiment onto Base in top-right corner using the Spectrum Pad. The sentiment is smaller than the Spectrum Pad, so I opted to use the middle three colors: Calypso Coral, Flirty Flamingo and Melon Mambo.
2. Stamp your choice of medallion across the middle of the card Base using the Spectrum Pad. Use the same colors you used for Step 1, and be sure to re-ink your stamp in the same position on the Spectrum Pad so you don't mix the colors! This should make a row of medallions across the card.
3. Stamp a second row of the same medallion below the first on the card Base. I inked up my stamp the same way, but turned it upside down for stamping the second row. This made the Melon Mambo Ink on the bottom row line up with the row stamped in Step 2.
4. Tie length of ribbon around the middle front of the card Base and tie into a bow just left of center. You can secure with some Mini Glue Dots.
Supplies for Today's Tutorial:
Click on the images to shop with me!


No comments:
Post a Comment