Lavender Sentiments Card Tutorial
The Botanical Butterfly Designer Series Paper (DSP) looks lovely with most any sentiment from the Wonderful Romance Stamp Set. It won't be around much longer, so I'm enjoying it while it's available. The floral images in the DSP also go well with the floral stamp images in the Wonderful Romance Stamp Set.
Tip of the Day
Can't find the right size ribbon or trim? Your thin ribbons can do more than you think! Double or triple them up on your projects to create a thicker bow, or thicker wrap. It gives the impression of a thicker wrap or bow.
Product of the Week: Wonderful Romance Stamp Set
The Wonderful Romance Stamp Set has three sentiments that are great for many occasions. It also includes beautiful line-drawn floral images that are excellent for coloring with Stampin' Blends.
Lavender Sentiments Card Tutorial
Wonderful Romance Stamp Set
Base: Smoky Slate Cardstock, 8 1/2" x 5 1/2", score and fold at 4 1/4"
Layer 1: Whisper White Cardstock,
4 1/8" x 5 3/8"
Layer 2: Botanical Butterfly DSP 5" x 4"
Layer 3: Smoky Slate Cardstock, punch with 2" Circle Punch
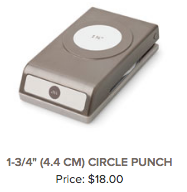
Layer 4: Whisper White Cardstock, punch with
1 3/4" Circle Punch
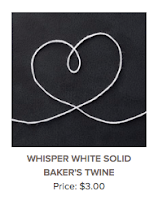
Embellishments: Whisper White Solid Baker's Twine
Instructions:
1. Stamp "You Are the Best..." sentiment onto Layer 4 with Smoky Slate Ink.
2. Adhere Layer 4 to Layer 3 using Snail.
3. Adhere Layer 2 to Layer 1 at top using Snail.
4. Wrap length of Ribbon around Layer 1 and 2 three times, adhering the ends to the back of Layer 1 using Snail.
5. Adhere Layers 1 and 2 to the Base using Snail.
6. Adhere Layers 3 and 4 to Layers 1 and 2 over the Ribbon on the bottom-left side using Dimensionals.
7. Tie a bow using two pieces of Baker's Twine together and adhere to the bottom of Layer 4 using a Mini Glue Dot.
Supplies for Today's Tutorial:
Click on the images to shop with me!


No comments:
Post a Comment