Blended Floral Birthday Card Tutorial

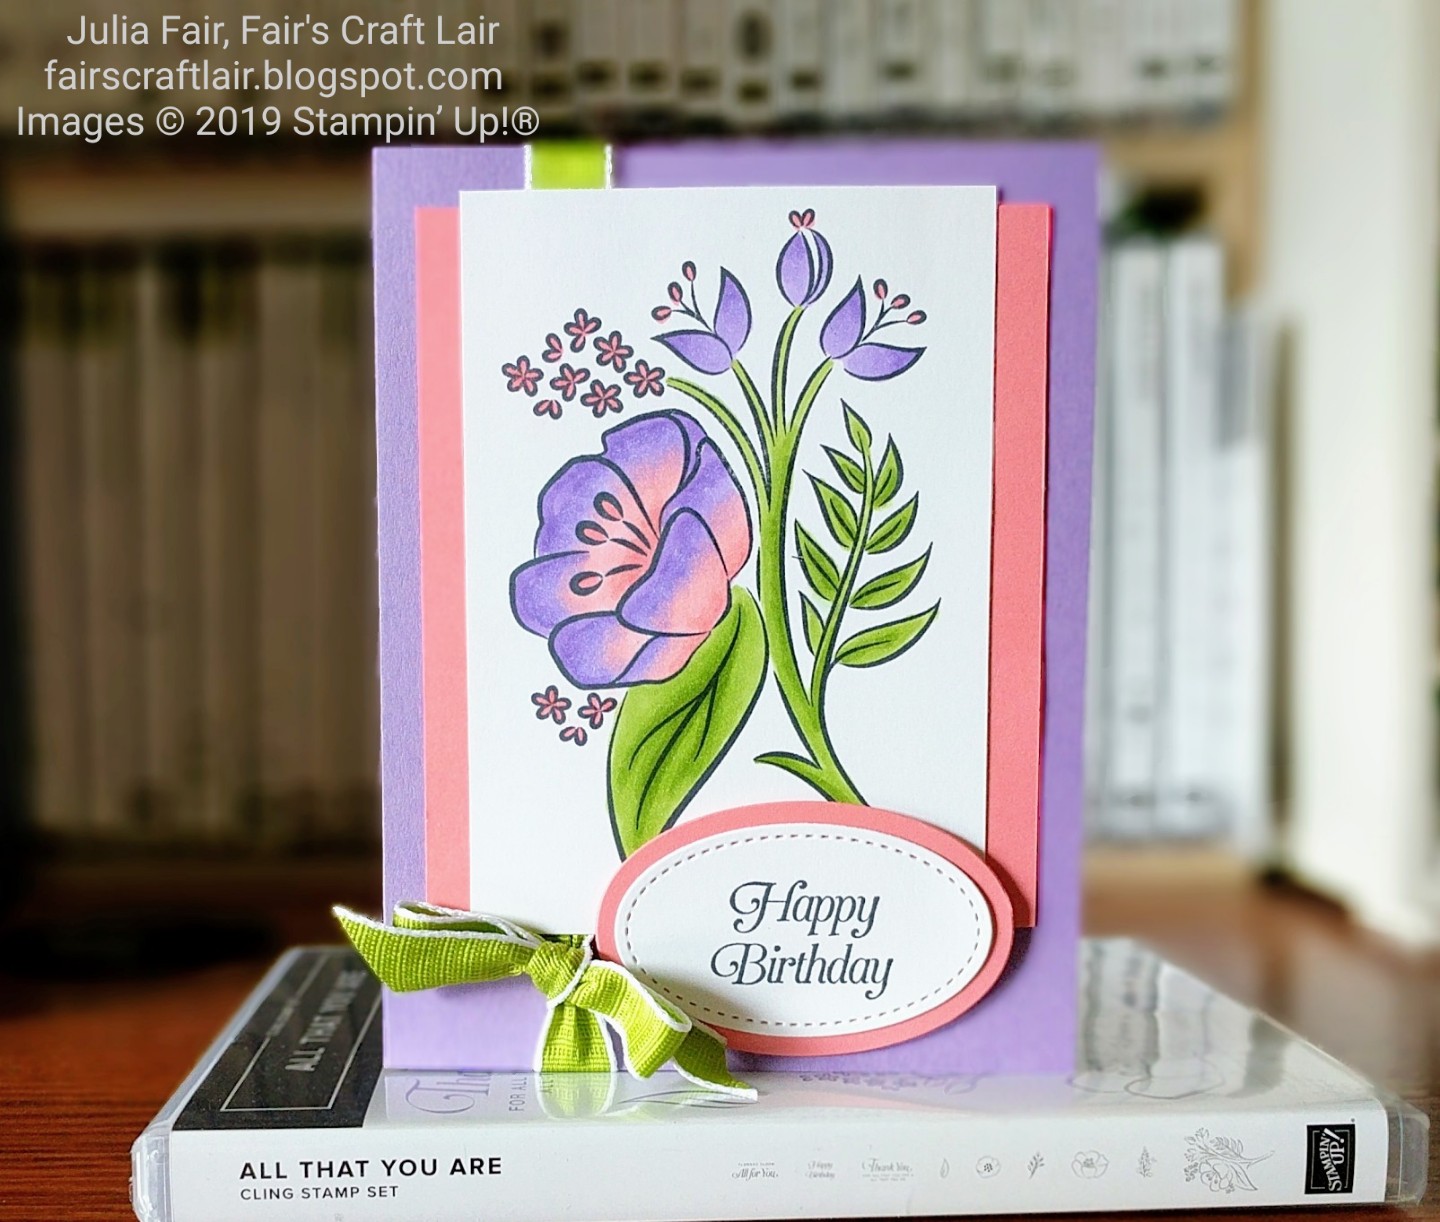
The large images in the All That You Are Stamp Set are perfect for letting out your inner child who loves coloring....or maybe your adult version of coloring too! The set includes three sentiments that are perfect for many occasions and also include images that can build on one another to create many diverse looks. I opted for Flirty Flamingo, Highland Heather and Granny Apple Green for coloring with Blends, but there are so many wonderful choices the sky is the limit!
A Quick Note: I'm switching up some of the days I do specific blogs to be able to do them more effectively and help with the needs of my family. Specifically, my YouTube tutorials will be moving to Thursdays and my Facebook Lives will be moving to Tuesdays.
Product of the Week: Stampin' Blends


Using Stampin' Blends Part 1: Supplies and Preparation
Stampin' Blends are a really fun way to color, but be sure to take some time to prepare your work area and practice first. Preparation is easy: you just need to protect your work surface. Stampin' Blends contain alcohol based inks, which will bleed. That's why then blend so well. So you want to make sure you have something under your paper you're working on to protect your desk or work space, and definitely be sure you have some scrap paper underneath. Your project could turn out lovely on the front, but if you're working on top of the rest of your project, the rest of it could be stained!
Supplies you'll need are good quality paper and a water-based and fade-resistant ink. I recommend using Stampin' Up! Whisper White Cardstock and Tuxedo Black Memento Ink for stamping your images. You want to use a water-based ink because the Stampin' Blends use alcohol ink, which means the water-base ink is more likely to stay put.
If you want to try working with some other paper, be sure to test it first. In my experience, papers that have properties that are good for watercolor techniques are NOT good for Blends. Stampin' Up Shimmery White Cardstock and Watercolor Papers would not work well for this, in fact, the ink in the Blends will bleed much farther than you anticipate!
Blended Floral Birthday Card Tutorial
All That You Are Stamp Set
Measurements:
Base: Highland Heather Cardstock, 8 1/2" x 5 1/2", score and fold at 4 1/4"
Layer 1: Flirty Flamingo Cardstock,
3 3/4" x 4 1/4"
Layer 2: Whisper White Cardstock, 3 1/8" x 4 3/8"
Layer 3: Flirty Flamingo Cardstock, die cut Oval from Layering Ovals Framelits, ~ 1 1/2" x 2 1/2"
Layer 4: Whisper White Cardstock, Oval from Stitched Shapes Framelit Dies, ~1 1/4" x 2 1/4"
Inside Panel: Whisper White Cardstock,
4" x 5 1/4"
Embellishments: Granny Apple Green 1/2" Textured Weave Ribbon
Instructions:
1. Stamp "Happy Birthday" sentiment onto Layer 4 with Tuxedo Black Memento Ink.
2. Stamp large floral image onto Layer 2 using Tuxedo Black Memento Ink.
3. On the stamped floral image on Layer 2, use Dark and Light Highland Heather Stampin' Blends to color the medium flowers and the edges of the large petals on the large flower. Use Flirty Flamingo Blends in light and dark to color the small flowers and the center of the large flower. Use Granny Apple Green Blends to color the leaves and stems.
4. Adhere Layers 1 and 2 together using Snail.
5. Wrap Base with a length of Granny Apple Green Ribbon and adhere ends to the FRONT using Mini Glue Dots. You will cover up the ends with the Layers. Adhere about 1 1/2" from the fold.
6. Adhere Layers 1 and 2 over the ribbon using Snail. Adhere Layers 3 and 4 to the bottom of Layers 1 and 2 with the Ribbon just to the left using Dimensionals.
7. Tie a bow to the ribbon on the card at the bottom of Layers 1 and 2.
8. Adhere Inside Panel to the Base on the inside back of card using Snail.
Supplies for Today's Tutorial:
Click on the images to shop with me!


No comments:
Post a Comment